Setting up your first event triggered journey
Running a sample web application that triggers emails with a Laudspeaker journey.
This tutorial will show with a very simple application, how to use the react sdk, how to trigger events, connect a journey, and send messages like emails, sms and push based on those events.
Setting up the app
Simply clone the project from our github repository here https://github.com/laudspeaker/react-toy-app .You’ll need to do is change the api key and the application should work as intended. Then go ahead and run two commands
npm install
npm run dev
If you navigate to localhost on your browser the application should look like this:
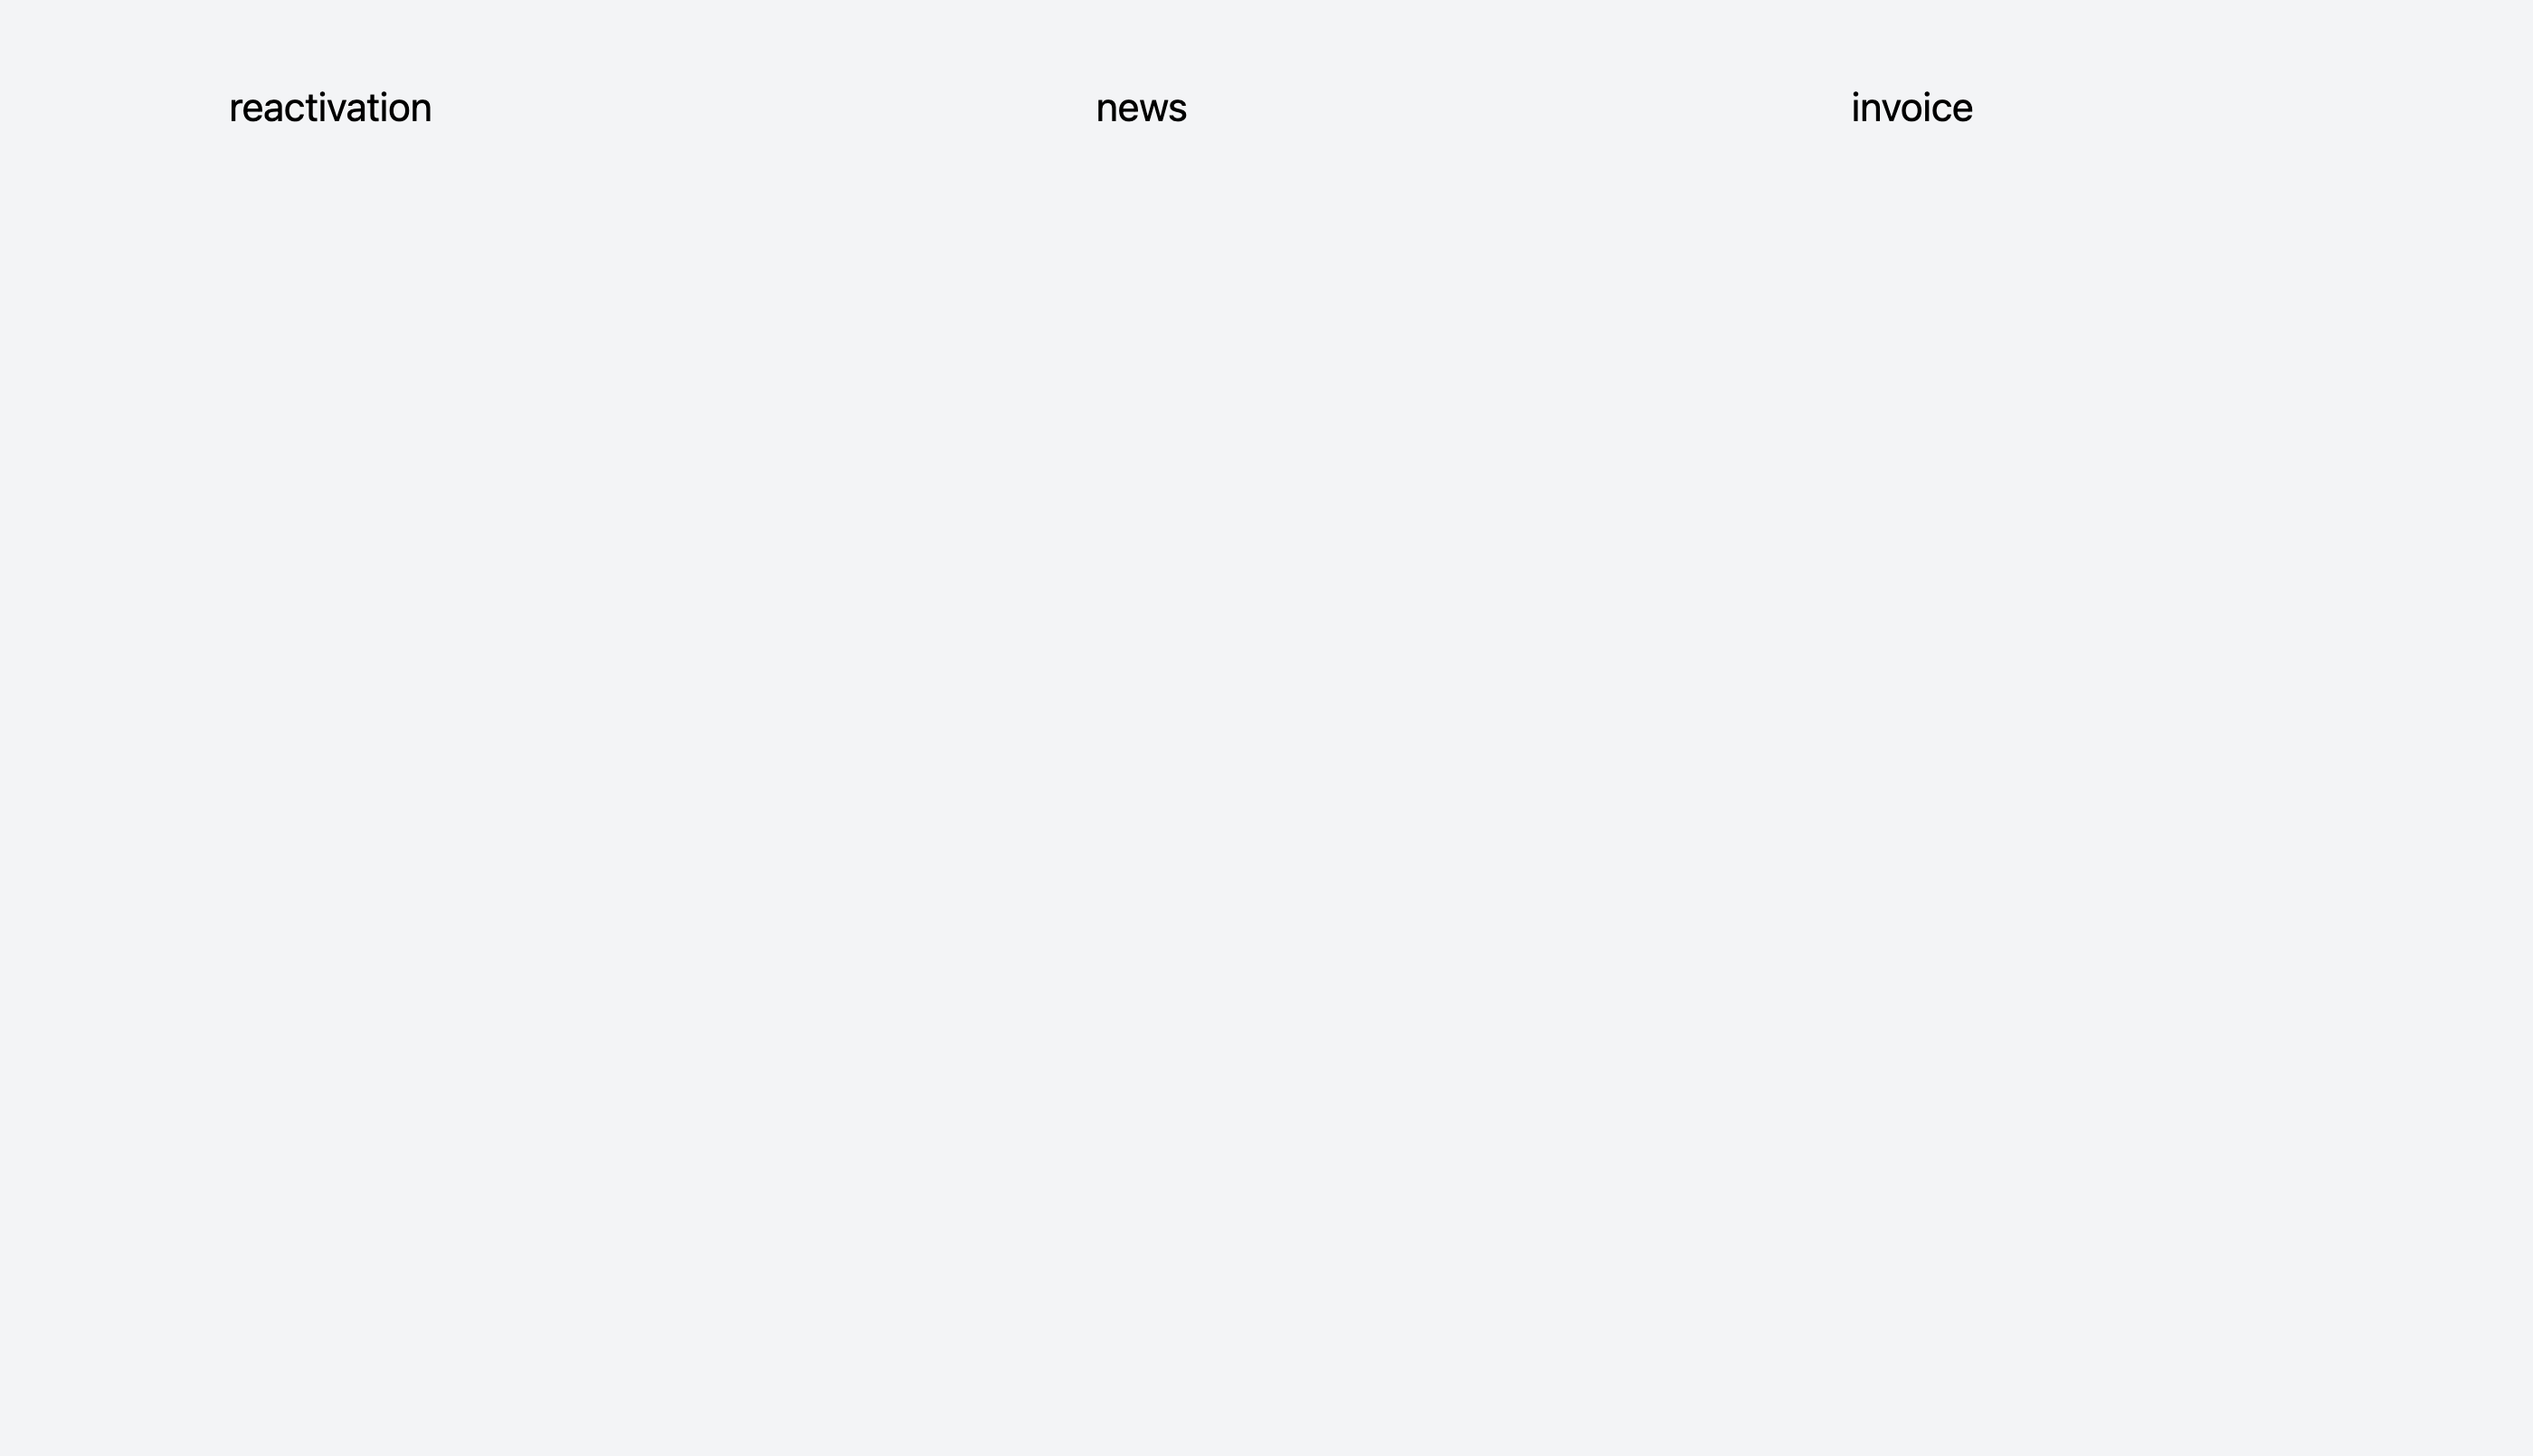
When you complete the journey, and link your app correctly when you click on reactivation, news or invoice you will be sent a specific email as shown in the video below.
Understanding the application
If you navigate to the App.vue you will see how events are fired.
<template>
  <div>
    <div class="bg-[#F3F4F6] w-full min-h-screen">
      <div class="p-[50px] flex justify-around gap-[20px]">
        <button v-on:click="eventTest('reactivations')">reactivation</button>
        <br />
        <button v-on:click="eventTest('newslater')">news</button>
        <br />
        <button v-on:click="eventTest('invoices')">invoice</button>
        <br />
      </div>
    </div>
  </div>
</template>
Each button, has a handler on a click eventTest , where we fire an event. The event is a POST request to https://api.laudspeaker.com/events with the following structure
correlationKey: 'email',
correlationValue: '[your email here]',
source: 'custom',
event
Creating and starting our journey
This journey is available as a template on your account, which you can navigate to to do.
We will explain its structure.
When a user is enrolled in the journey, they start in the start step and then move to the wait until trigger. In the wait until step the users unsurprisingly, wait until, one of three events are triggered. The user then moves to the email step, receives the corresponding email, and then with the jump to loops back to the wait until step until another event is triggered.
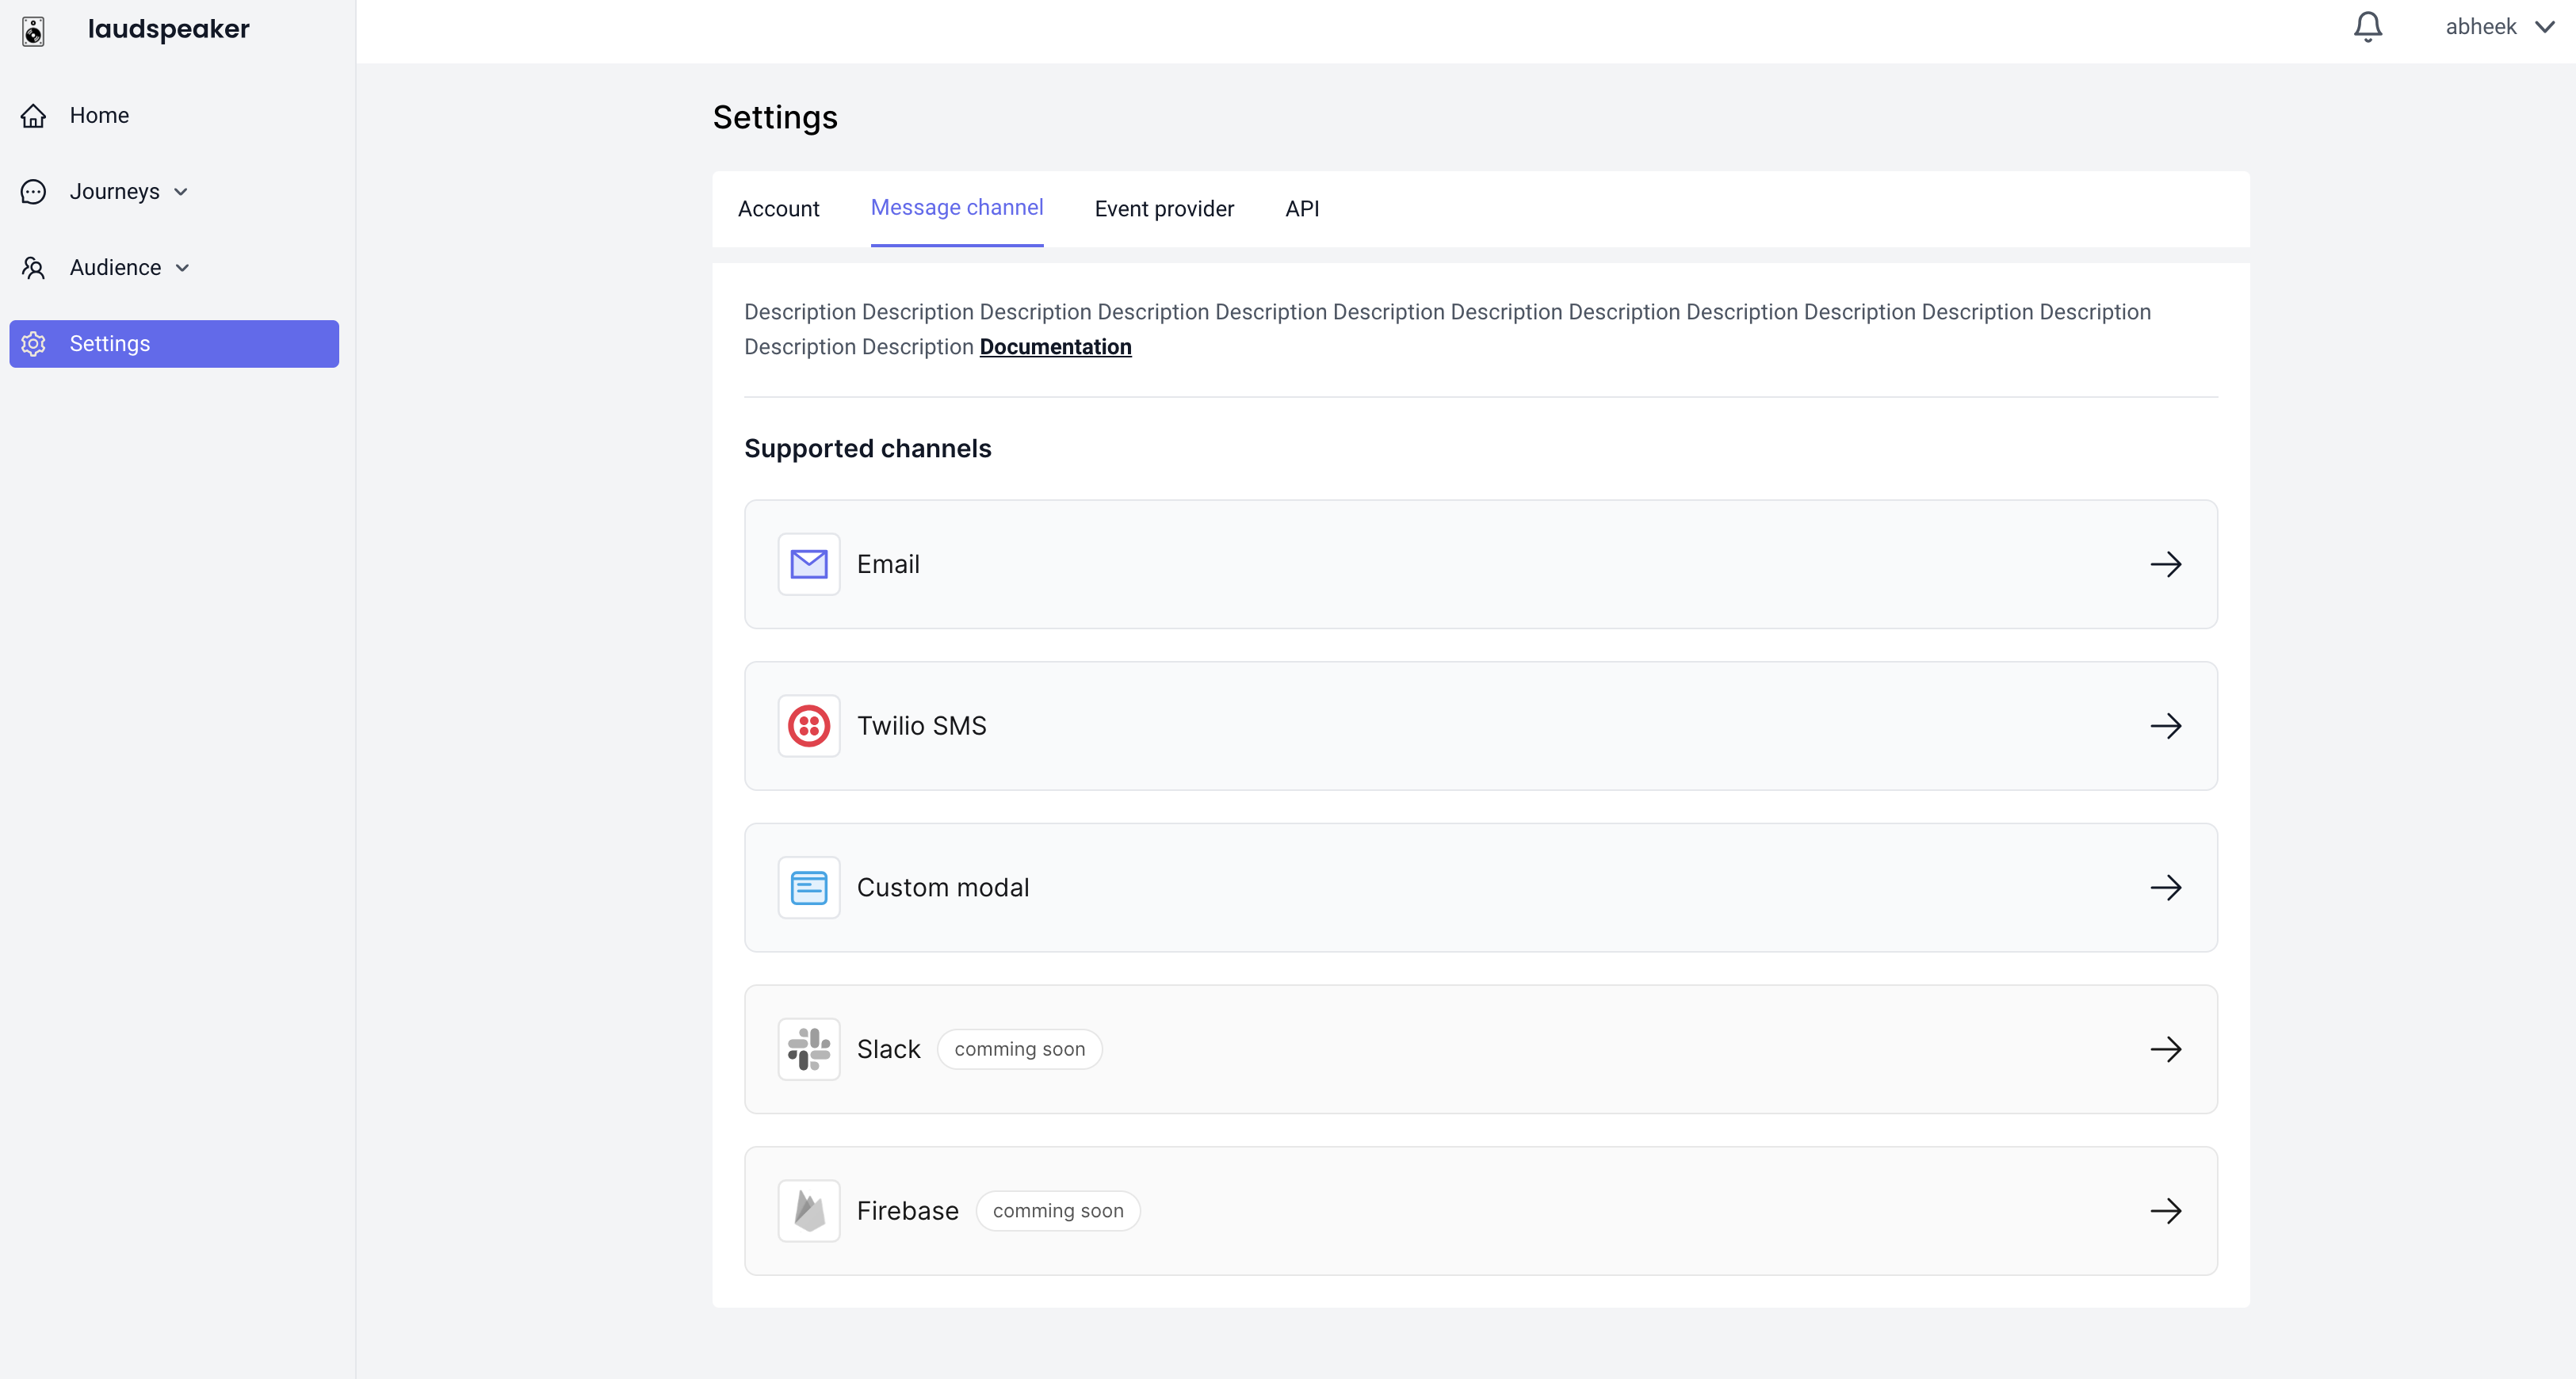
Connecting a messaging channel in settings
In this tutorial we use email, but the same ideas can be applied for our other channels including sms, and push.
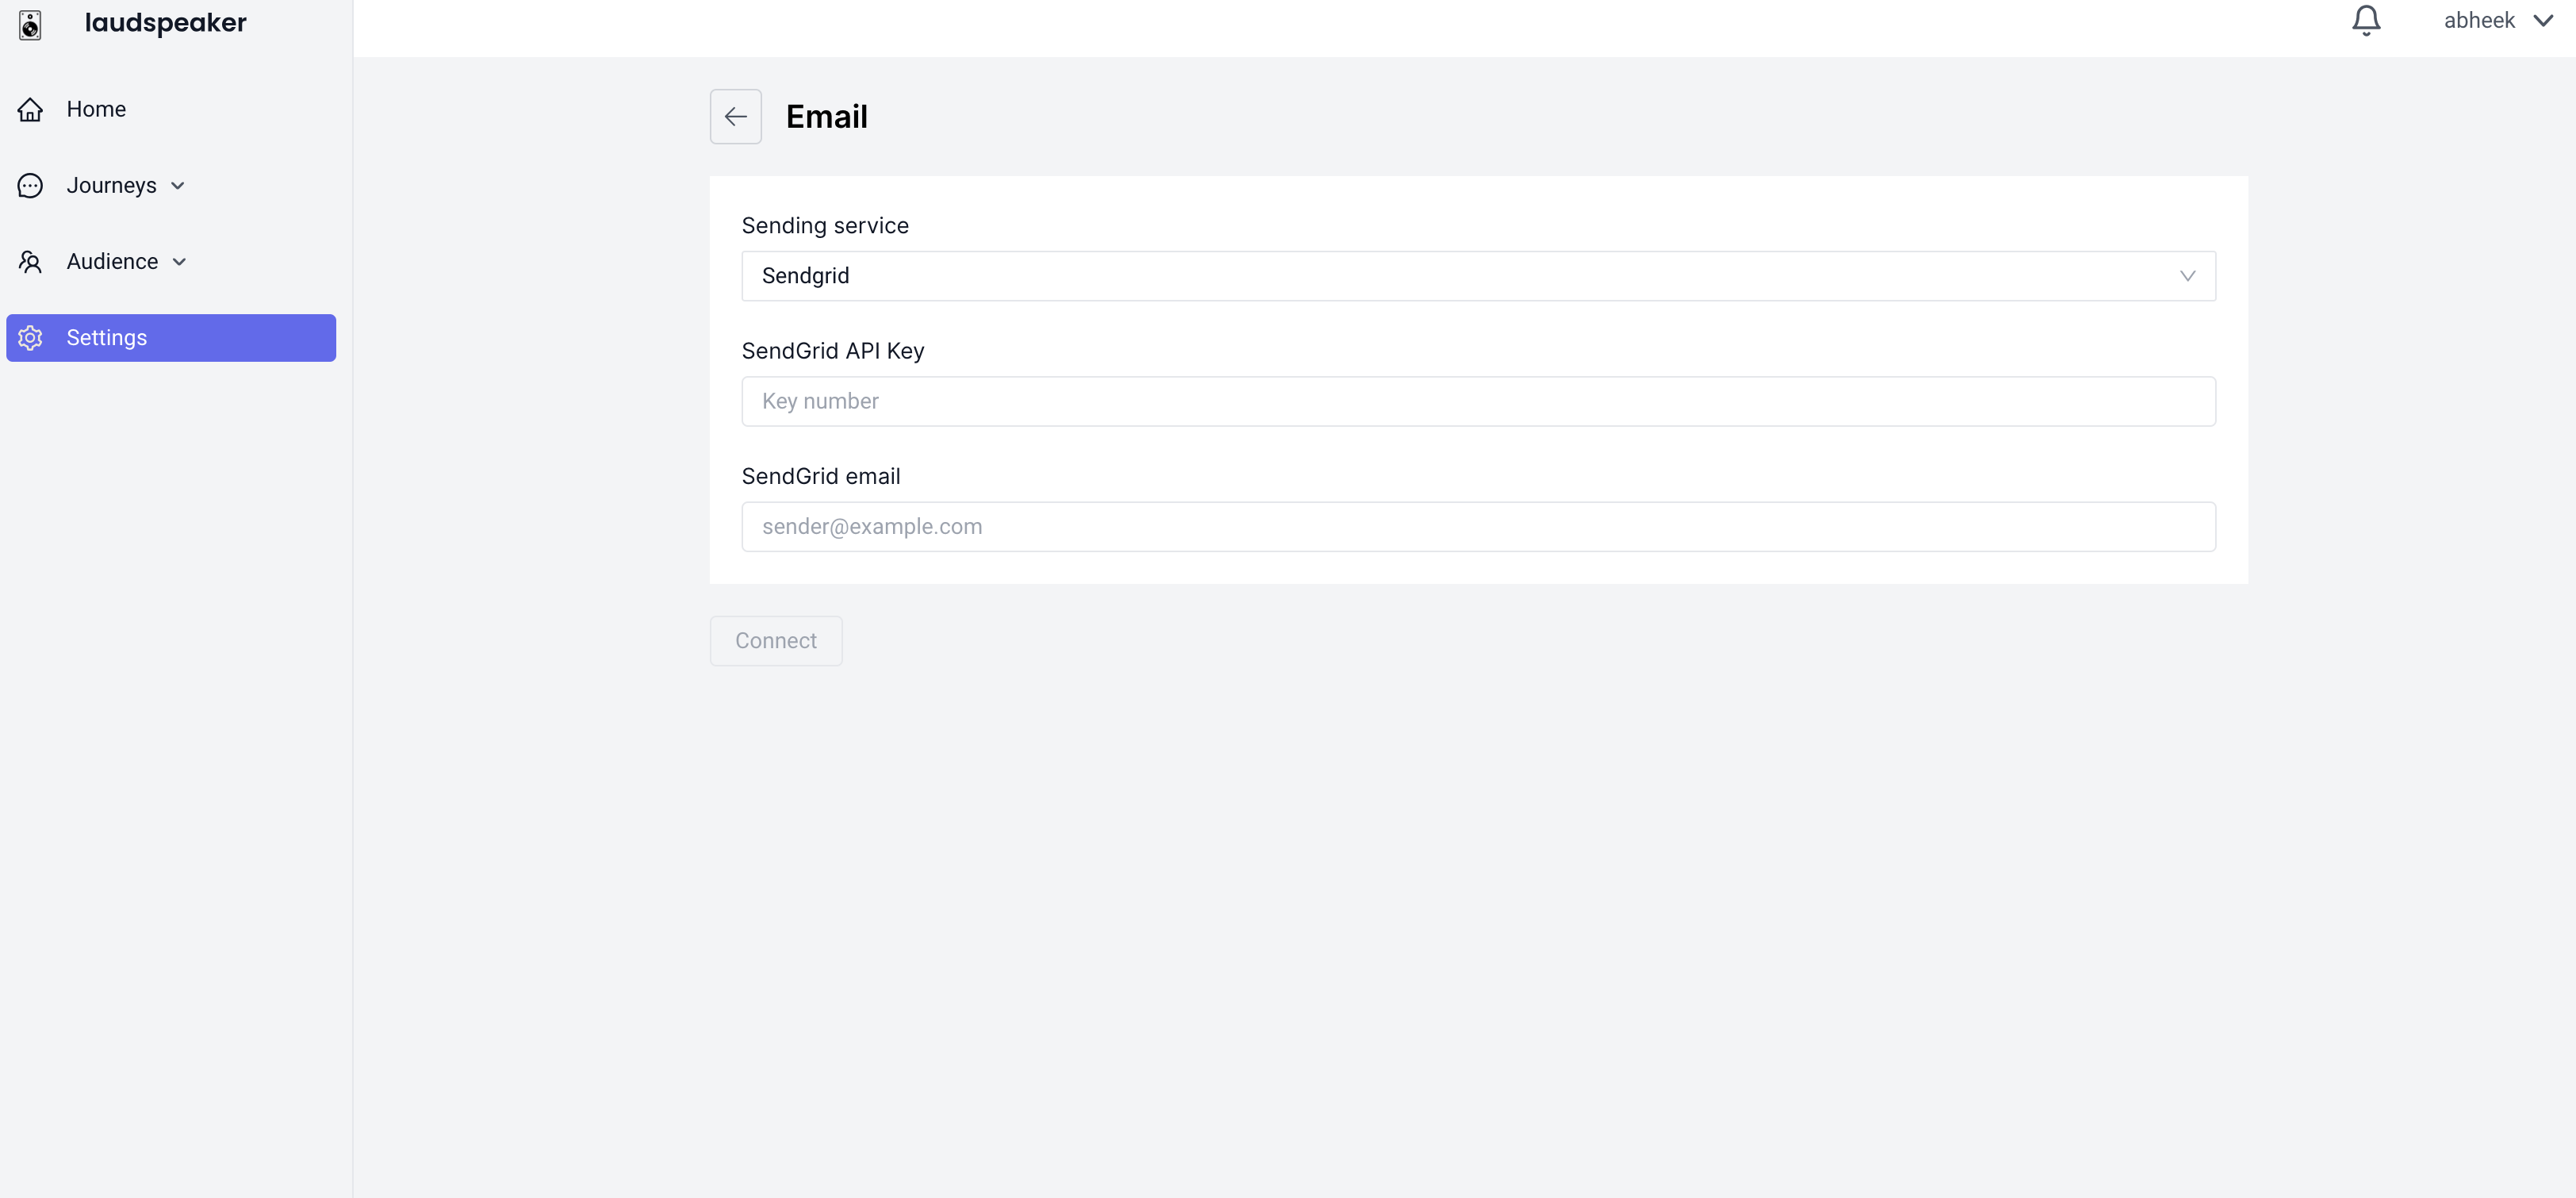
Messages like emails are sent via a dedicated delivery service. For email we currently support sendgrid and mailgun, which you can connect in settings:
Putting it all together
Set the journey live, and then re-start the app. Now when you click on the button, you should receive an email.
This tutorial shows how the basic ideas behind Laudspeaker work in practice.